Add remote files from Azure DevOps
If your content is stored in a repository on Azure DevOps Services, you can connect that repository, so you can access and publish those files in Reunite.
To connect an Azure DevOps repository, you must first create a new personal access token (PAT) token in Azure DevOps. Afterward, you must create a new branch, enter the connection details, and merge the open pull request in Reunite.
Create a new access token in Azure DevOps
Permissions
Before creating Personal Access Token (PAT) for your user, make sure that they have a correct access right to the desired Azure projects. Redocly recommends putting your user in the Project Administrators security group for your Azure DevOps project, since this security group has all the needed permissions by default.
(For example, only the Project Administrators security group has the View subscriptions and the Edit subscriptions permissions enabled by default. Redocly needs these permissions to be able to setup service hooks (webhooks) for the Azure project.)
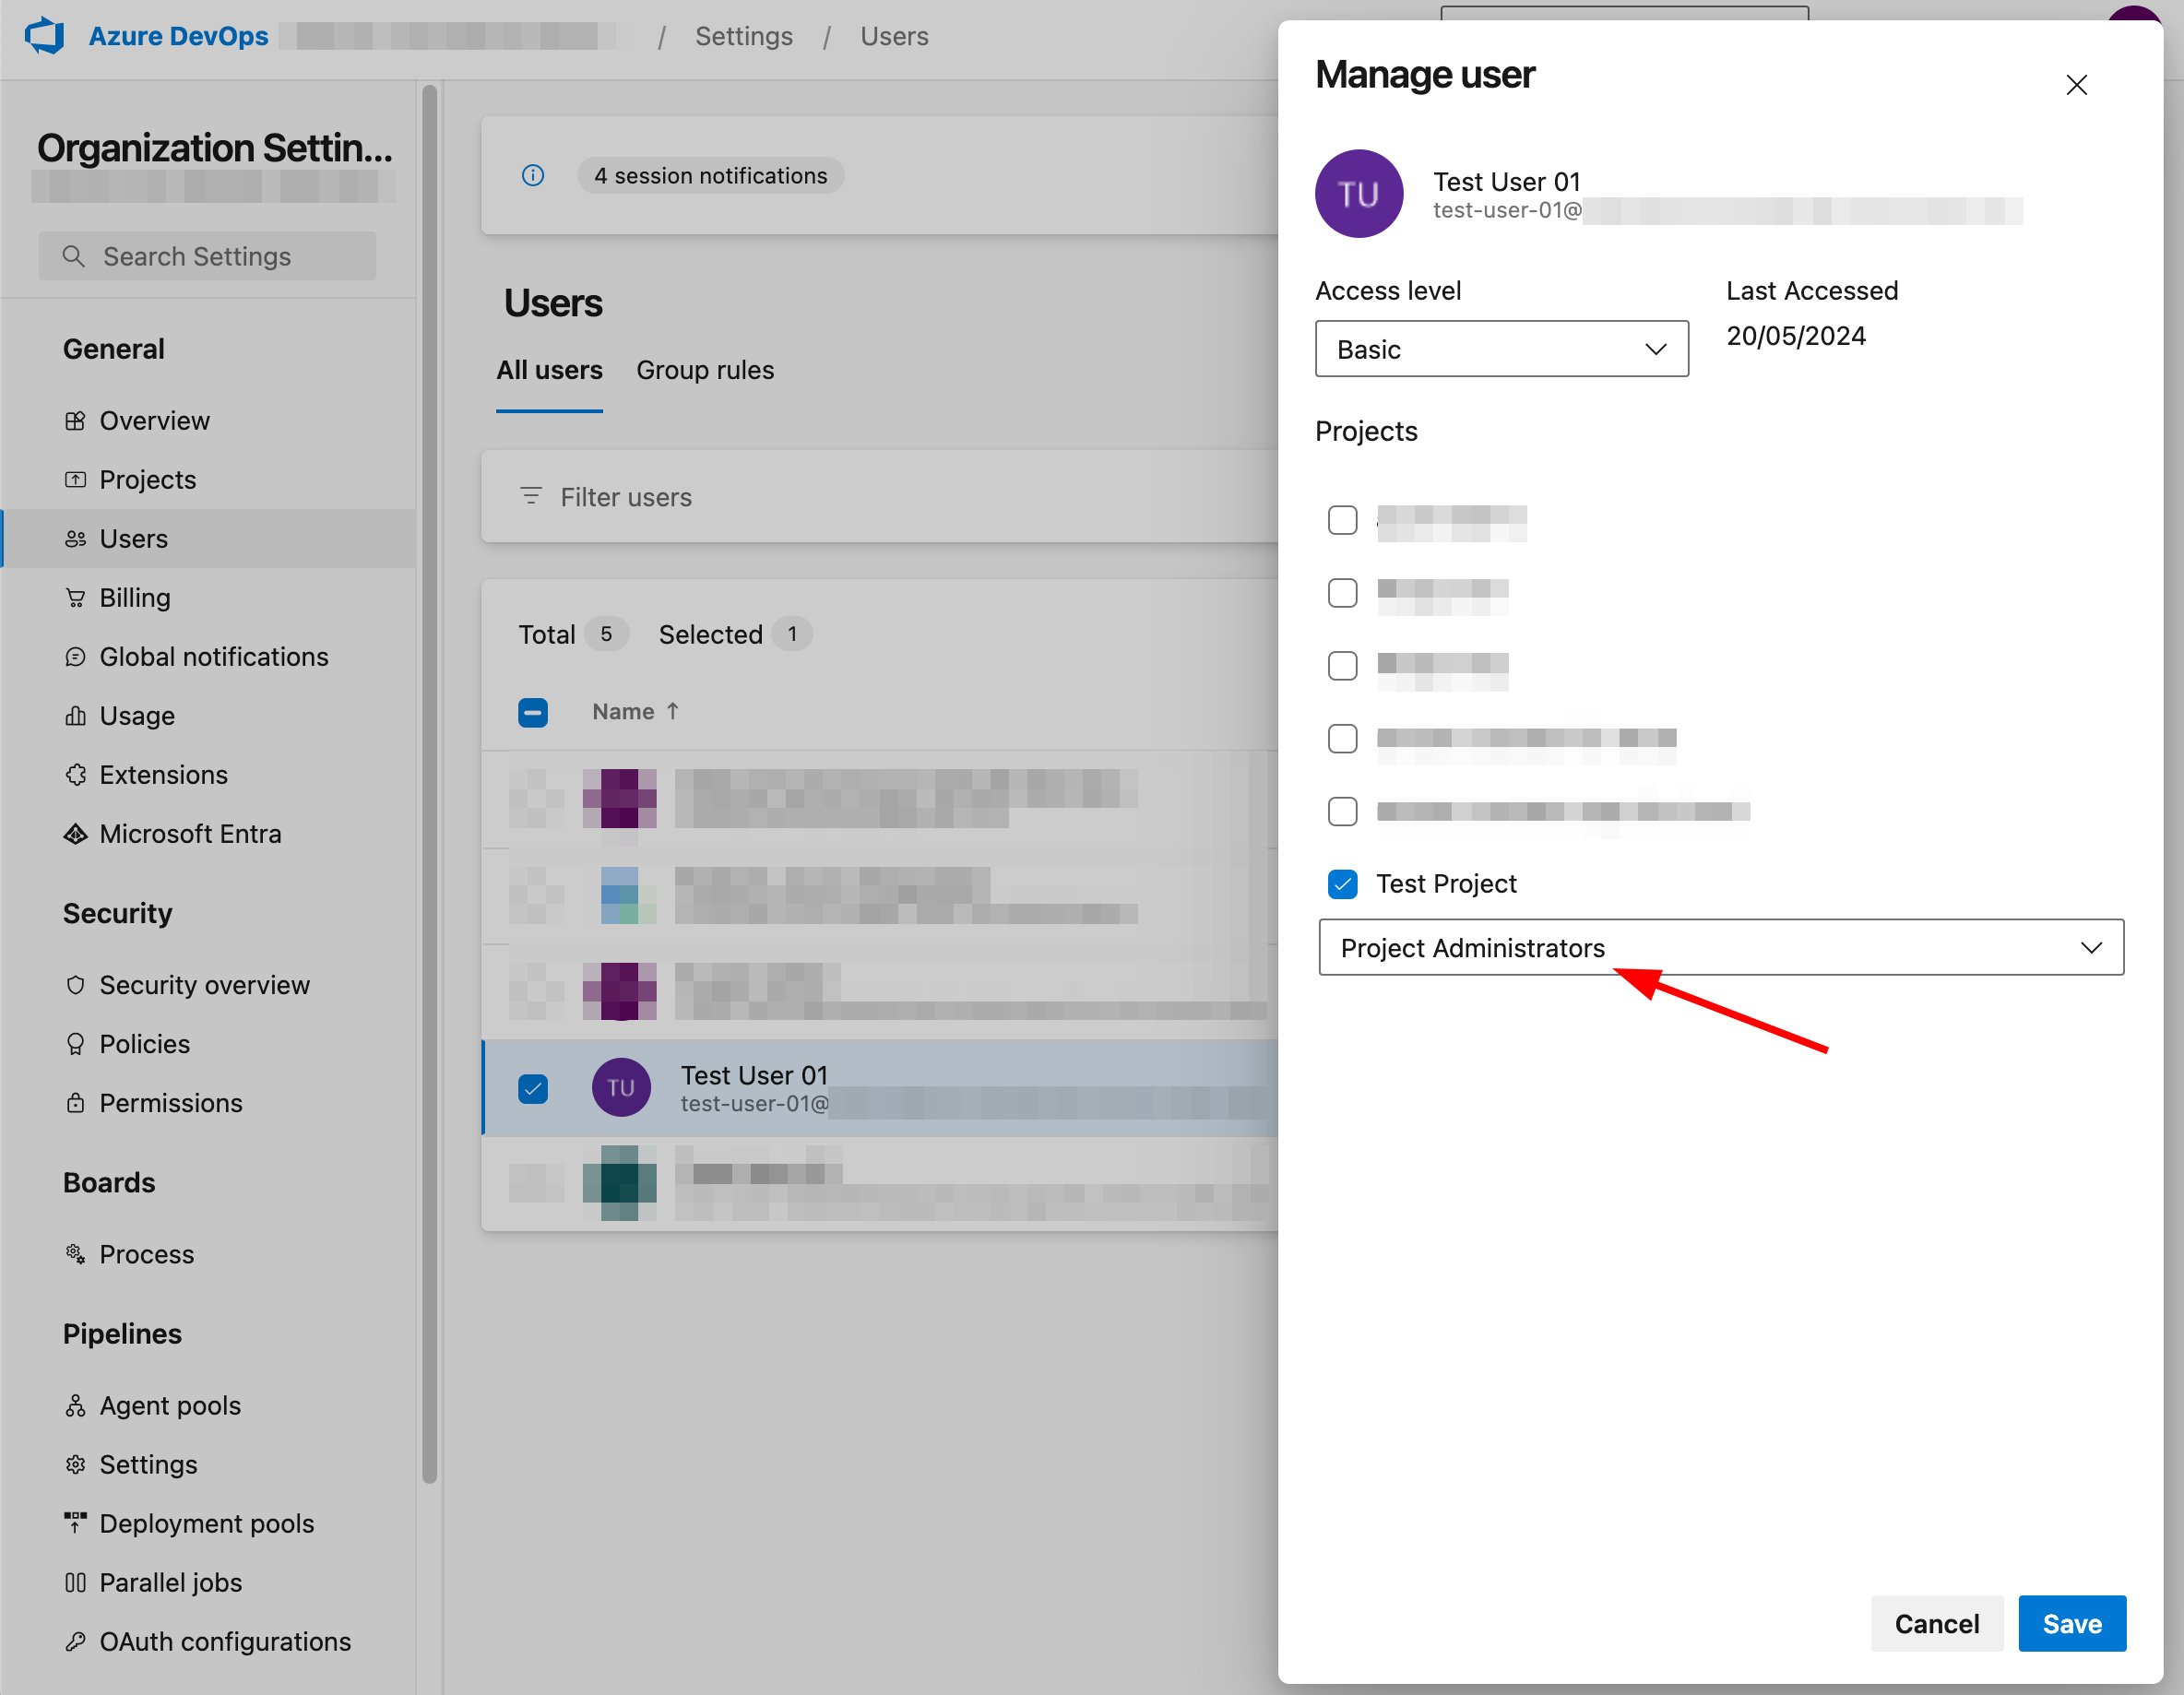
Alternatively, you can put your user in the Project Contributors security group and add the View subscriptions and the Edit subscriptions permissions manually. See Manage permissions with command line tool or Security REST API in Microsoft Azure DevOps documentation for detailed instructions.
PAT scopes
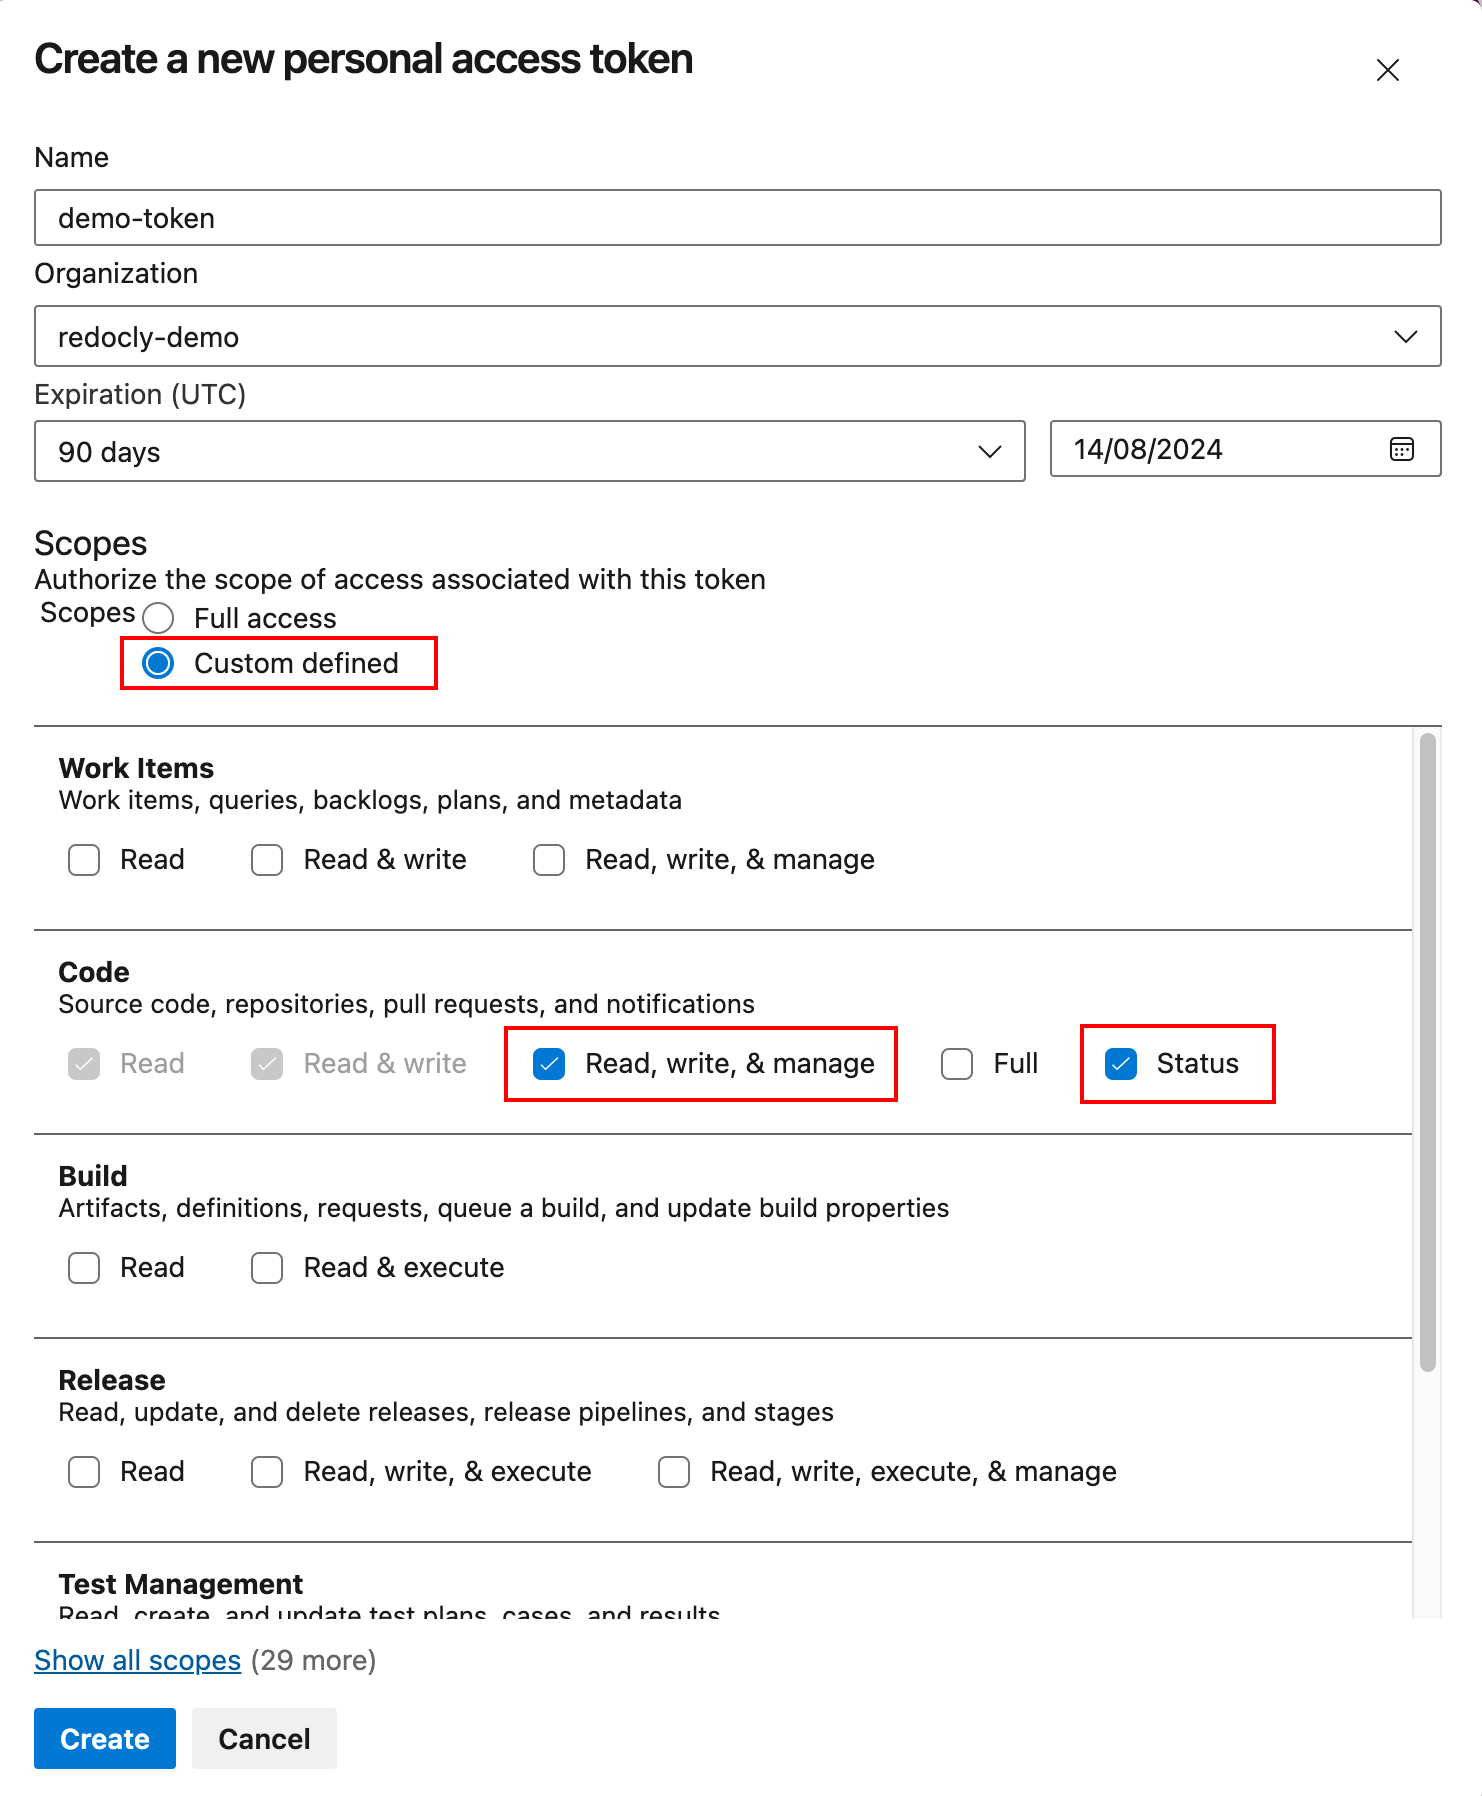
Before you enter the connection details in Redocly, you need to create and copy a new PAT for your account in Azure DevOps. Redocly uses this access token to establish a connection to your repository.
See Create a PAT in Microsoft Azure DevOps documentation for detailed instructions.
You must select an Organization for this PAT. Do not select All accessible organizations.
Also, the PAT you use must have API scopes defined. You can choose the Full access option, or select Custom defined and enable the following specific scopes:
- Code:
Read, write, & manageandStatus
The following screenshot from Azure DevOps shows the required custom defined scopes:
Reunite requires:
- Code -> Read (
vso.code) scope for all read operations in Reunite (list of repositories, branches, files, file contents, diffs, list of PRs, etc.). - Code -> Write (
vso.code_write) scope for all write operations in Reunite (create/update Pull Requests, remove branches, synchronize remote content). - Code -> Manage (
vso.code_manage) scope for creating new code repositories from Reunite app. - Code -> Status (
vso.code_status) scope for setting commit and PR statuses (Lint status, Build status, Link checker status, Visual review).
See Scopes in Microsoft Azure DevOps documentation for detailed information about scopes permissions.
Detailed list of all resources that Reunite uses from Azure API and their required scopes:
| Resource | Auth Type | Scopes | Description |
|---|---|---|---|
| Repositories - List | PAT | vso.code | To get repositories list |
| Repositories - Get Repository | PAT | vso.code | To get repository metadata |
| Stats - List | PAT | vso.code | To get branch list |
| Refs - Update Refs | PAT | vso.code | To delete branches |
| Items - List | PAT | vso.code | To get folders list and PR templates list |
| Items - Get | PAT | vso.code | To get PR template content |
| Commits - Get | PAT | vso.code | To get commit details |
| Merge Bases - List | PAT | vso.code | To find the merge bases of two commits |
| Diffs - Get | PAT | vso.code | To get diff between commits |
| Statuses - List | PAT | vso.code, vso.code_status | To get existing commit statuses |
| Statuses - Create | PAT | vso.code_write, vso.code_status | To set commit statuses (for deployments and scorecards) |
| Pull Requests - Get Pull Requests | PAT | vso.code | To get pull requests list |
| Pull Requests - Get Pull Request | OAuth2 | vso.code | To get details about a specific pull request |
| Pull Requests - Create | OAuth2 | vso.code | To create a new pull request |
| Pull Requests - Update | OAuth2 | vso.code | To manage existing pull requests (merge, close, reopen, etc.) |
| Pull Request Statuses - Create | PAT | vso.code_write, vso.code_status | To set pull request statuses |
| Policy Configurations - Get | OAuth2 | vso.code | To get configurations for merge strategies |
| Subscriptions - List | PAT | vso.code | To get a list of existing project subscriptions (webhooks) |
| Subscriptions - Create | PAT | vso.code | To create a new project subscription (webhook) |
| Profiles - Get | OAuth2 | vso.profile | To get user display name |
Note:
- Push and pull Git actions are performed using PAT.
- Redocly uses
https://dev.azure.com/{organization}/_apis/connectionDataendpoint to verify if the user is authorized.
Create a new branch in Reunite
Before you make any changes to your project, create a new branch. This new branch is a place where you can make changes without affecting the published site until you are ready. After you have iterated on your changes based on reviews by your team and the updates have been approved, you can merge your changes into the published site.
To create a new branch:
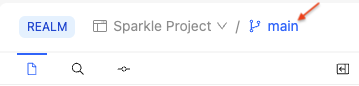
From the Reunite editor, click the name of the current branch at the top of the page.
Enter the name for your new branch, for example
new-dev-branch, and select Create branch.Reunite automatically replaces spaces with hyphens
-because spaces are not allowed in branch names.
Enter the connection details in Reunite
After you have created a new branch in Reunite, you can add remote content to your project in Reunite using the connection details you have collected from Azure DevOps.
To enter the connection details in Reunite:
- In the file tree, select the folder (or click on the empty space to select the root directory) where you want to add the remote content folder.
- Select + > New remote folder > Add Git repository.
- Enter a name for the new remote content folder and press the Enter or Return key.
- Select Azure DevOps Services.
- Enter a Credential name that identifies this Azure DevOps Services connection.
- Enter the Access token you saved from the Create a new access token in Azure DevOps step.
- Enter the Organization name where you created the access token and select Next.
- Select your Organization > Repository > Branch.
- (Optional) Select the Folder, if you want to include only a specific folder from the repository.
- (Optional) Select the Auto-sync or Auto-merge toggles to turn off either option.
- Select Add remote. This action opens a pull request in Reunite automatically. Click the View Pull Request button next to your new branch name to view the pull request.
Merge the open pull request in Reunite
After you enter the connection details in Redocly, a pull request to merge your updates with the default branch opens. When you merge the pull request your changes are added to your main branch and a production deploy is triggered.
To merge the open pull request in Reunite:
- Select the View Pull Request button next to your branch name.
- Review your updates in the Review tab.
- After the tests have run and your pull request has been approved, click the Merge button to merge your updates with the default branch.
Related how-tos
- If you want to connect an entire repository from a Git provider, see Connect a Git provider.
- Check out all the ways you can use the Editor in Reunite to create content.
Resources
- Learn more about where you can view feedback and deployment details for projects in Reunite.
- View the different options for configuring your project in the
redocly.yamlfile in the Configuration reference documentation.