Take your first steps with the Redocly CLI by following the steps in this guide.
Before you start:
- Install the Redocly CLI if you haven't already
- Create a new project folder and
cdinto the folder - If you have an OpenAPI description to use, copy it into your project (we assume it's called
openapi.yaml), or try our example
There's also an openapi-starter repository that you can clone and experiment with to get your bearings
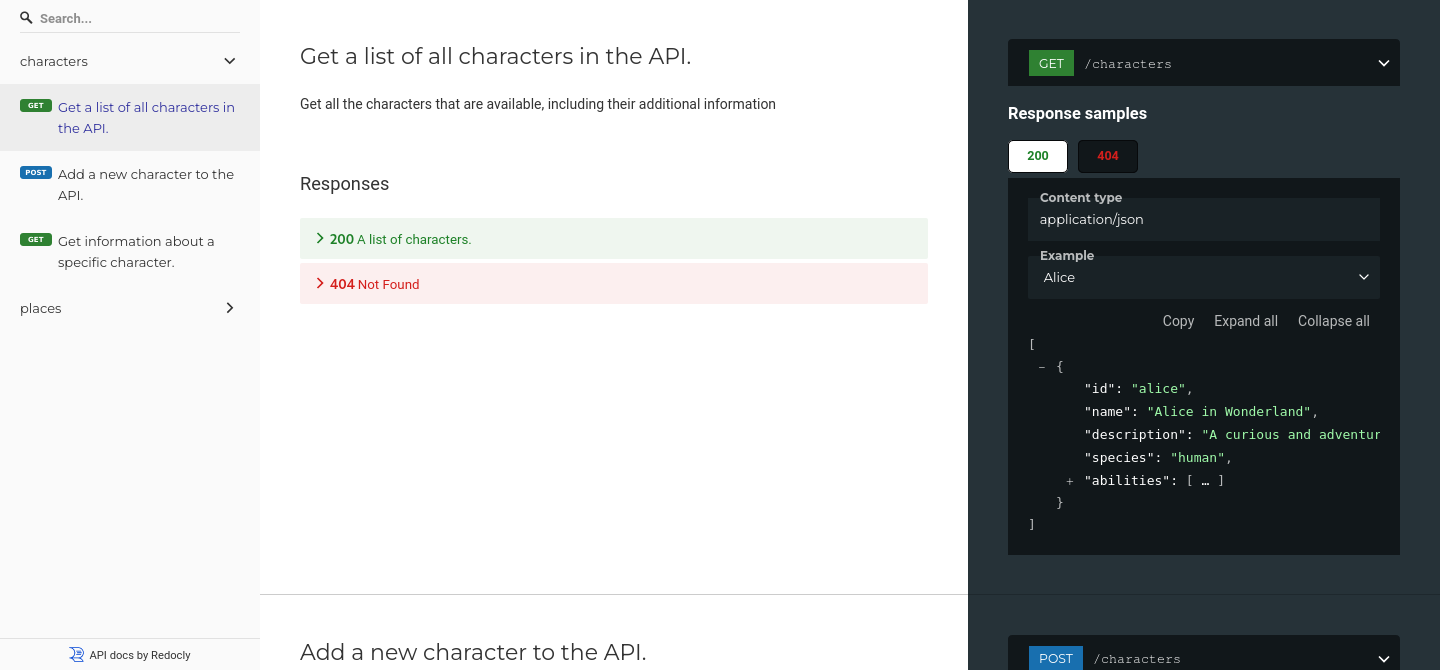
Redocly CLI has support for building your API documentation into an HTML file. Run the command:
redocly build-docs openapi.yamlThe command produces a static HTML file named redoc-static.html in the current directory by default.
Open it in your browser, and admire your lovely API documentation!
Linting helps create consistent API descriptions and helps you avoid bugs, leading to a smoother developer experience. Using linting as part of your API workflow optimizes maintainability, facilitates ease of onboarding, and increases the adoption of the API.
The lint command is used to check that the OpenAPI description is compliant with a set of rules. To get started using a default ruleset, try the following command:
redocly lint --extends minimal openapi.yamlThe command uses a minimal ruleset to lint the API description, and outputs a report of whether the API met the expected standard, as shown in the following example:
validating openapi-starter/openapi/openapi.yaml...
[1] openapi-starter/openapi/openapi.yaml:72:10 at #/servers/1/url

Server `url` should not point to example.com or localhost.

70 |         default: www
71 |         description: Your tenant id
72 |   - url: https://example.com/api/v1
73 | paths:
74 |   '/users/{username}':

Warning was generated by the no-server-example.com rule.


openapi-starter/openapi/openapi.yaml: validated in 109ms

Woohoo! Your API description is valid. 🎉
You have 1 warning.
The output shows any aspects where the OpenAPI doesn't meet the standard. If you get too much output, try adding the --format summary parameter to the command.
Feeling brave and highly API compliant? Try the recommended or spec ruleset instead and see how yours measures up.
Redocly CLI has some great built-in rules, and you can use these to build up a ruleset that works for you.
For example, let's build a lightweight ruleset using the spec ruleset and adding some built-in rules to create a custom ruleset. You can see an example in the following snippet:
extends:
  - spec

rules:
  path-parameters-defined: error
  operation-operationId: error
  paths-kebab-case: warn
By taking the existing ruleset and adding some rule configuration, we can alter the rules and make a ruleset that suits our use case. Use this example as a starting point and then iterate to create a configuration that fits your needs.
After this quick tour of Redocly CLI, you can spend more time in the areas that interest you. Try one of the following:
- Check the list of CLI commands to find out what else you can do and get more information about each command.
- Add some configurable rules to your setup for anything you need that doesn't have a built-in rule.
- Use Redocly CLI with GitHub Actions for repeatably awesome API governance.