Use the Reunite editor to create, edit, and manage content in your Redocly project directly from your browser. This guide shows you how to create your first project, add content, customize navigation, and publish changes.
Make sure you have the following:
a project that uses the Starter template in your Reunite organization
See: Create a project for instructions on creating a project.
Learn more about branches
Reunite uses Git for version control, which means changes are made on development branches and are introduced to the main branch of the project through pull requests.
Branches are copies where you can make changes to the project without affecting the production project until you are ready. If you want changes from a branch to be added to the production project, you merge a pull request.
Before you make any changes to your project, create a new branch. This new branch is a place where you can make changes without affecting the published site until you are ready. After you have iterated on your changes based on reviews by your team and the updates have been approved, you can merge your changes into the published site.
To create a new branch:
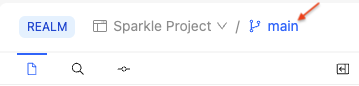
From the Reunite editor, click the name of the current branch at the top of the page.
Enter the name for your new branch, for example
new-dev-branch, and select Create branch.Reunite automatically replaces spaces with hyphens
-because spaces are not allowed in branch names.
By default, the landing page for each directory in your project is either an index.md or index.page.tsx file. New projects in Reunite come with a landing page file.
Replace the content in the current landing page file. Add your own content or use the following sample Markdown:
Example content
# Start something new

There's a real excitement to starting something new.

- A blank page
- A fresh opportunity
- Limitless potential

## Good for writers

Writers need strong tooling so they can deliver a lot of content in a short time.
Efficiency is key, so this platform supports [Markdoc](https://markdoc.dev/) format (it's a lot like Markdown, but with added niceness).

Build-in link checking and branch previews lets writers move quickly and safely when creating content or managing updates.

## Good for readers

Clean layout and a visible table of contents makes good content a pleasure to read and process.
The content can be a Markdown file with all the supported features of Markdoc, a React file, or an API description (such as an OpenAPI, GraphQL, or AsyncAPI description).
Learn more about Markdown in Redocly for all formatting options, or see Use the editor for details about the editor toolbar and features.
Now that you have added some content to your landing page, you can preview your project.
The Reunite editor automatically saves your changes as you make edits to your files.
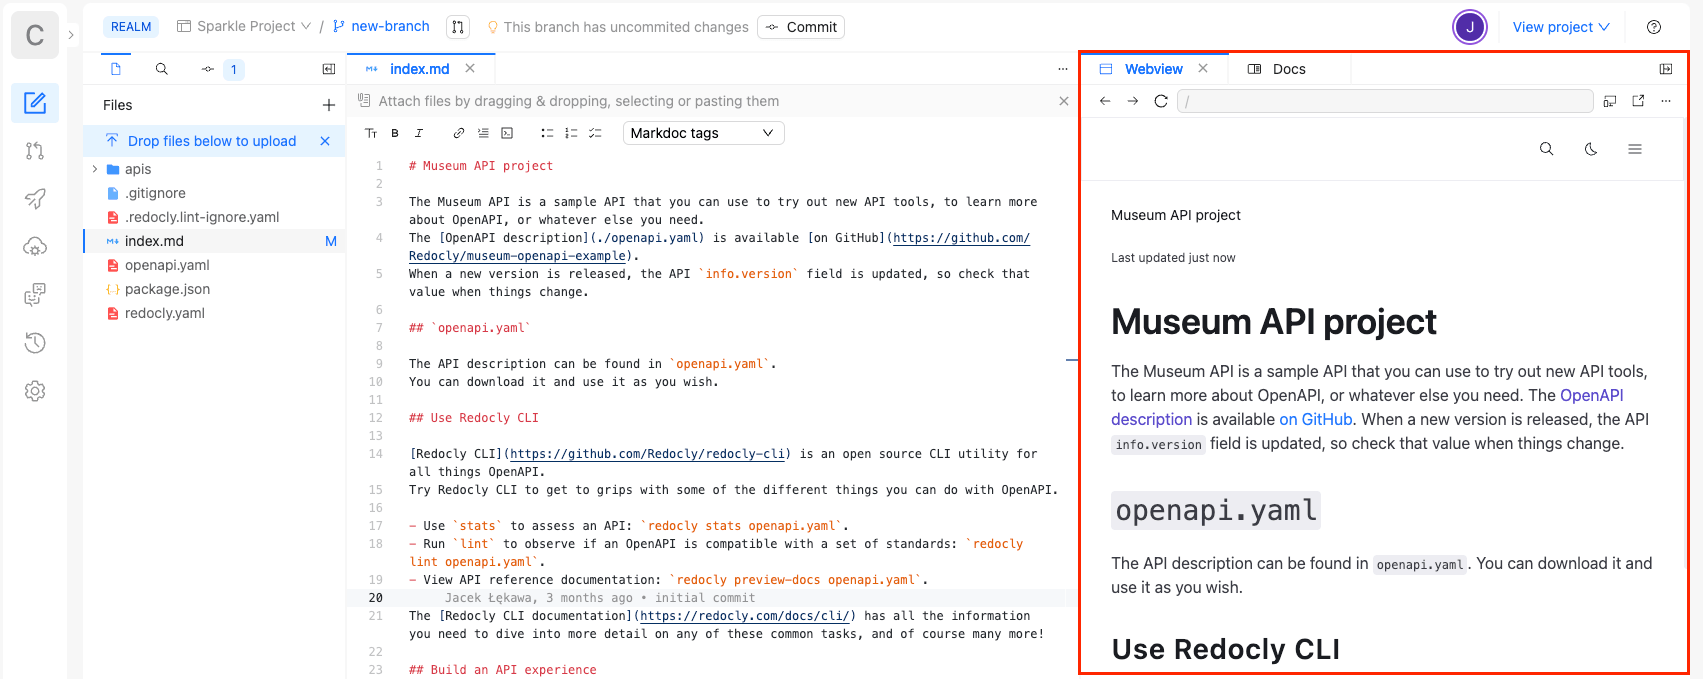
Reunite includes a Webview tab where you can view your changes as you make them in the editor.
Preview how your changes look in a sample build before publishing to production.
The Webview tab shows formatting updates to ensure they render correctly before you publish.
Change the view to meet your needs, such as seeing how the landing page renders on mobile screens. See Use the Webview to learn more about the options available in the Webview tab.
Reunite creates deployment previews for all branches that have an open pull request. The deployment preview includes all changes you have committed to your branch.
Learn more about pull requests
Reunite uses Git for version control, which means changes are made on development branches and are introduced to the main branch of the project through pull requests.
Before you can open a pull request, you must make a commit to your development branch. A commit is a way of storing your changes to the branch in Git. You can continue to make updates to your branch and make additional commits.
After you have committed, you can open a pull request with your commits. Pull requests show the differences between your branch and the main branch. They run checks for broken links, create deployment preview builds, and allow team members to review changes before merging.
To see a preview build of your project:
Commit your updates.
Steps to commit
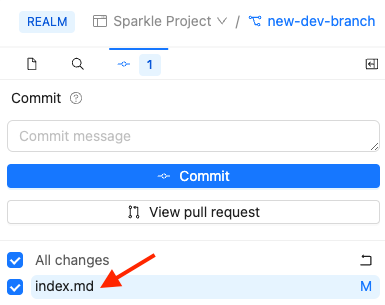
Click the Commit button, or the commit icon.

Review the diff by clicking on the modified file.
When you are finished reviewing the diff, you can close the tab on the (changes) file.
(Optional) you can deselect the files you want to exclude from the commit.
Enter a commit message describing your updates. For example, "Update index.md"
Click Commit.
After you commit changes to the branch, open a pull request.
Steps to open a pull request
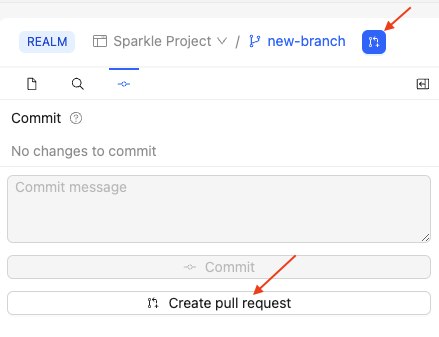
Click the Create pull request icon, or the Create pull request button on the Commit tab.
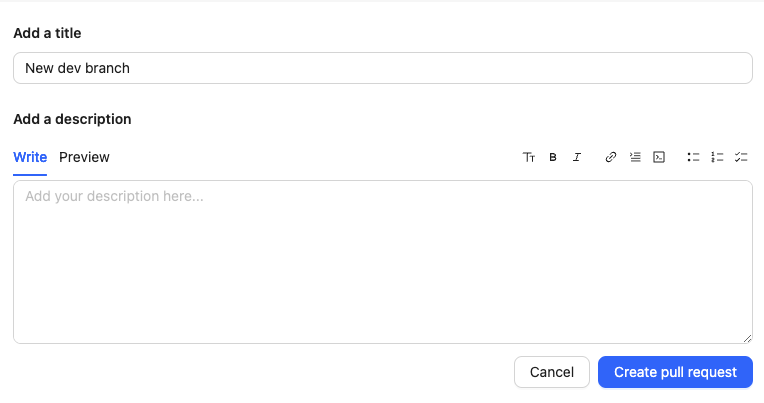
(Optional) In the page that opens:
- Edit the Title to your preference, By default, Reunite uses the first commit message.
- Provide a short description for the pull request.
Click the Create pull request button.
Click the Preview button in the top right corner of the page. You might need to wait until the deployment completes before you can access the preview deployment, otherwise you will be redirected to the deployment details page.
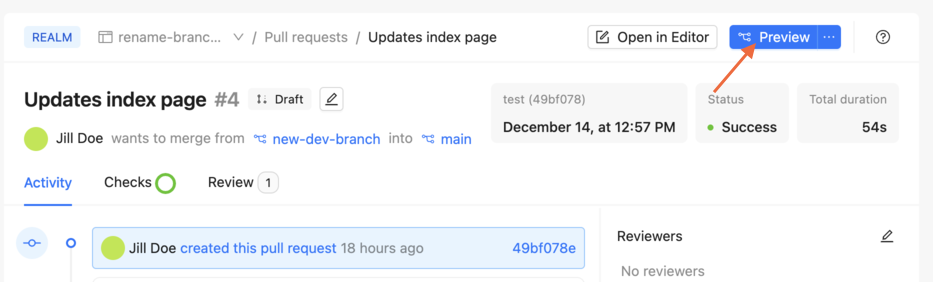
A deployment preview of the project with your changes opens in a separate browser window.
Now that you have updated the index.md page and seen a deployment preview, let's return to the editor to make some more changes to your project. To return to the editor, click Editor in the navigation pane on the left side of the page. If you only see icons, you may need to click the "greater than" symbol to expand the navigation pane.
Since a single Markdown page isn't very exciting, we should add a few more. Using the following steps, create the following two new files:
style-guide.mdabout.md
To create a new Markdown file:
Click the + icon in the top right corner of the file tree in your editor.
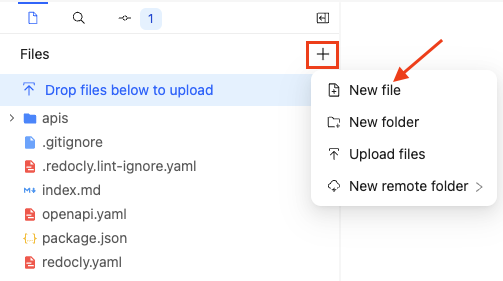
Select New file.
Enter the file name into the text field and press
returnorenteron your keyboard.
Add your own content to the Markdown files or use the following example content:
Example content
# Style guide

10-second style guide:

- Please write in sentences.
- Use bullet lists, tables, and subheadings to break up the text.
- Every page needs links to other interesting pages.
- Never use future tense.
# About

This is an _excellent_ project.
You will learn **all** the things.
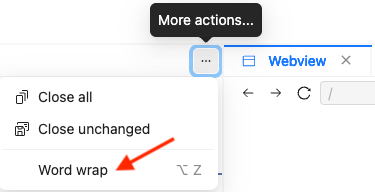
You can turn on word wrap in the editor by selecting the More actions menu in the top right corner of the editing pane and selecting Word wrap.
When you add more files to your project, a link to those files is automatically added to the generated sidebar navigation menu. This generated sidebar is based on the file structure of your project and requires an index.md file at the root of your project, in other words, not in a folder.
The sidebar navigation menu usually displays on the left side of the page in the Webview; however, when the Webview tab is a small width, it is hidden under a slide drawer menu icon that displays in the top right of the tab.
To customize the sidebar navigation for your project, you need to add and configure a new file named sidebars.yaml to the root of your project.
The sidebars.yaml file gives you control over the sidebar navigation menu. You add it as you would any new file. It must be named sidebars.yaml.
To add a sidebars.yaml file to your project:
- Click the + icon in the top right corner of the file tree in your editor.\
- Select New file.
- Enter the
sidebars.yamlas the file name into the text field and pressreturnorenteron your keyboard.
Now that you have added a sidebars.yaml file to your project, you can configure it.
After you have added a sidebars.yaml file to your project, you need to add to it the pages and links you want included in your sidebar navigation using YAML syntax.
Add the following sample configuration to your sidebars.yaml file:
- page: index.md
  label: Home
- page: style-guide.md
- page: about.md
- group: Museum API
  items:
    - page: ./openapi.yaml
The sample configuration adds the index page, with the link text "Home", your new Markdown pages, using the first heading as the link text, and the Museum API reference documentation, generated from the OpenAPI file.
After adding a sidebars.yaml file to a project, any pages you want listed in your sidebar navigation, must be included in the sidebars.yaml file.
Now that you have more pages and a sidebar to customize the navigation for those pages, let's update the look and feel of your project to better reflect your brand.
One way to customize your project to better reflect your brand is by updating the logo. To update the logo, you need to add a logo image file to your project, and add a logo configuration to the redocly.yaml file.
Images should be stored in images folders close to the content where they are referenced. Use multiple images folders throughout your project. For this task, we need an images folder at the root of the project.
For the following steps, you can use your own image or download the following sample logo image:
Download a sample logo image
To use the Redocly logo:
- Right-click on the image.
- Select Save Image As....
- Enter
logo.pngas the name for the image. - Select where you want to save the image.
- Click Save.
To add an image file to your project, drag the logo image file from where it is located on your computer and drop it into your index.md file. Afterward, a correctly formatted image Markdown tag is added to your index.md file. Also, the image is automatically saved to an automatically generated images folder at the root of your project.
Now that you have your logo added to the images folder in your project, you can configure the logo option in the redocly.yaml configuration file.
To add a logo configuration:
Select the
redocly.yamlconfiguration file in the file tree.Copy and paste the following configuration into the file using the editor:
redocly.yamllogo: image: ./images/logo.png link: /If you used a different image or updated the logo name - update the file path in the configuration to reflect your changes.
The logo updates immediately in the Webview tab. If you don't see your changes, try refreshing the Webview tab by clicking the Reload button. You can also commit your update to view it in the preview build.
Customize your project's appearance using CSS variables. Create a @theme/styles.css file to override the default styling.
Click the + icon in the top right corner of the file tree.
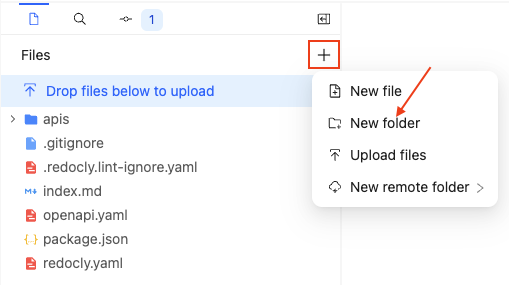
Select New folder.
Enter
@themeand pressreturn.
- Right-click on the
@themefolder. - Select New file.
- Enter
styles.css.
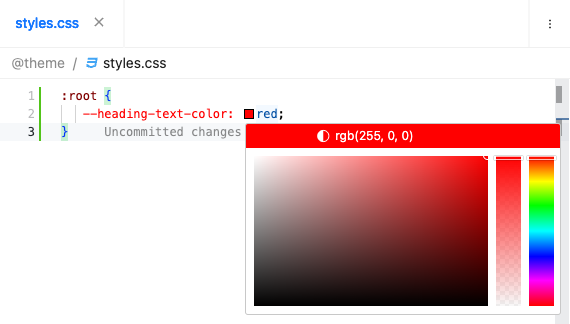
Add the following to your styles.css file to change the heading color:
:root {
   --heading-text-color: red;
}
Use hexadecimal codes, rgba values, or HTML color names. The editor includes a color picker when you hover over color values.
The headings' color updates immediately in the Webview tab. If you don't see your changes, try restarting Webview by clicking the Reload button. You can also commit your update to view it in the preview build.
By default, new projects start in draft mode.

While a project is in draft mode, its deployment URLs require logging in to access, so you can safely review your work before sharing it.
To make your project available for end users, take your project live. This action is permanent, you cannot switch the project back to draft mode. You must be an OWNER in your organization or have an admin project role.
To keep your project limited to specific users after you go live, review your access control settings before continuing.
When you're ready to make the project behave like a standard live project:
- Click Go live in the editor banner.
- Confirm the action to start a new production build and remove draft protection.
To learn more about draft mode and the go-live flow, see draft projects.
- Sidebars configuration - Configure
sidebars.yamlwith nested items and groups for custom navigation structure - Draft projects - Learn how draft mode protects deployment URLs and how to go live
- CSS variables dictionary - Complete reference for customizing colors, fonts, spacing, and visual styling
- Configure Redocly - All configuration options available in the
redocly.yamlfile for project customization - User profile menu - Manage notification settings, Git provider connections, and Reunite appearance preferences
- Markdown overview for technical writers - Learn Markdoc syntax for adding interactive elements to your documentation