The code walkthrough feature is an authoring tool for creating dynamic, interactive guides that manage user's focus as they scroll.
In a code walkthrough, content is displayed across two distinct panels. The panels are side-by-side, but each serves a different purpose.
The left panel displays steps and explanations that guide users through the code examples shown on the right panel. This content is created using Markdown and multiple Markdoc tags.
The right panel displays code examples and highlights the specific section of code related to the current step in the left panel. Highlights are managed using chunk annotations in the example code.
Make sure you have the following before you begin:
- example code files you plan to use
- a
redocly.yamlfile at the root of your project
Add code examples to your project as individual files. Redocly recommends storing the code walkthrough's example files together in the same folder, as in the following example:
your-awesome-project/
├──create-web-page/
│   ├──_filesets/
│   │   ├──index.html
│   │   ├──styles.css
│   │   ├──scripts.js
│   │   └──README.md
│   └──index.md
├──...
└──redocly.yaml
The reason we recommend storing all example files together is so that you can ignore them in the project configuration.
Exclude code example files from the project build using the ignore configuration in your redocly.yaml file. This exclusion prevents code examples from being parsed as content, ensuring they behave only as a data source for a code walkthrough.
Ignore files individually or as a folder, as in the following example:
ignore:
  # Ignore folder and all files in it
  - '**/_filesets/**/*'
After adding and ignoring the code example files, you're ready to add a code walkthrough to a Markdown page.
Before writing content, use the code-walkthrough tags to render a basic code walkthrough showing a single example code file and minimal content.
This step ensures the code examples are configured correctly, making it easier to spot errors when creating code walkthrough content.
Add the code-walkthrough tag referencing one of your example code files, as in the following example:
<!-- ...other markup... -->
{% code-walkthrough
  filesets=[
    { "files": [ "examples/index.html"] }
  ]
%}
  # Code Walkthrough

  Code walkthrough content goes here.
{% /code-walkthrough %}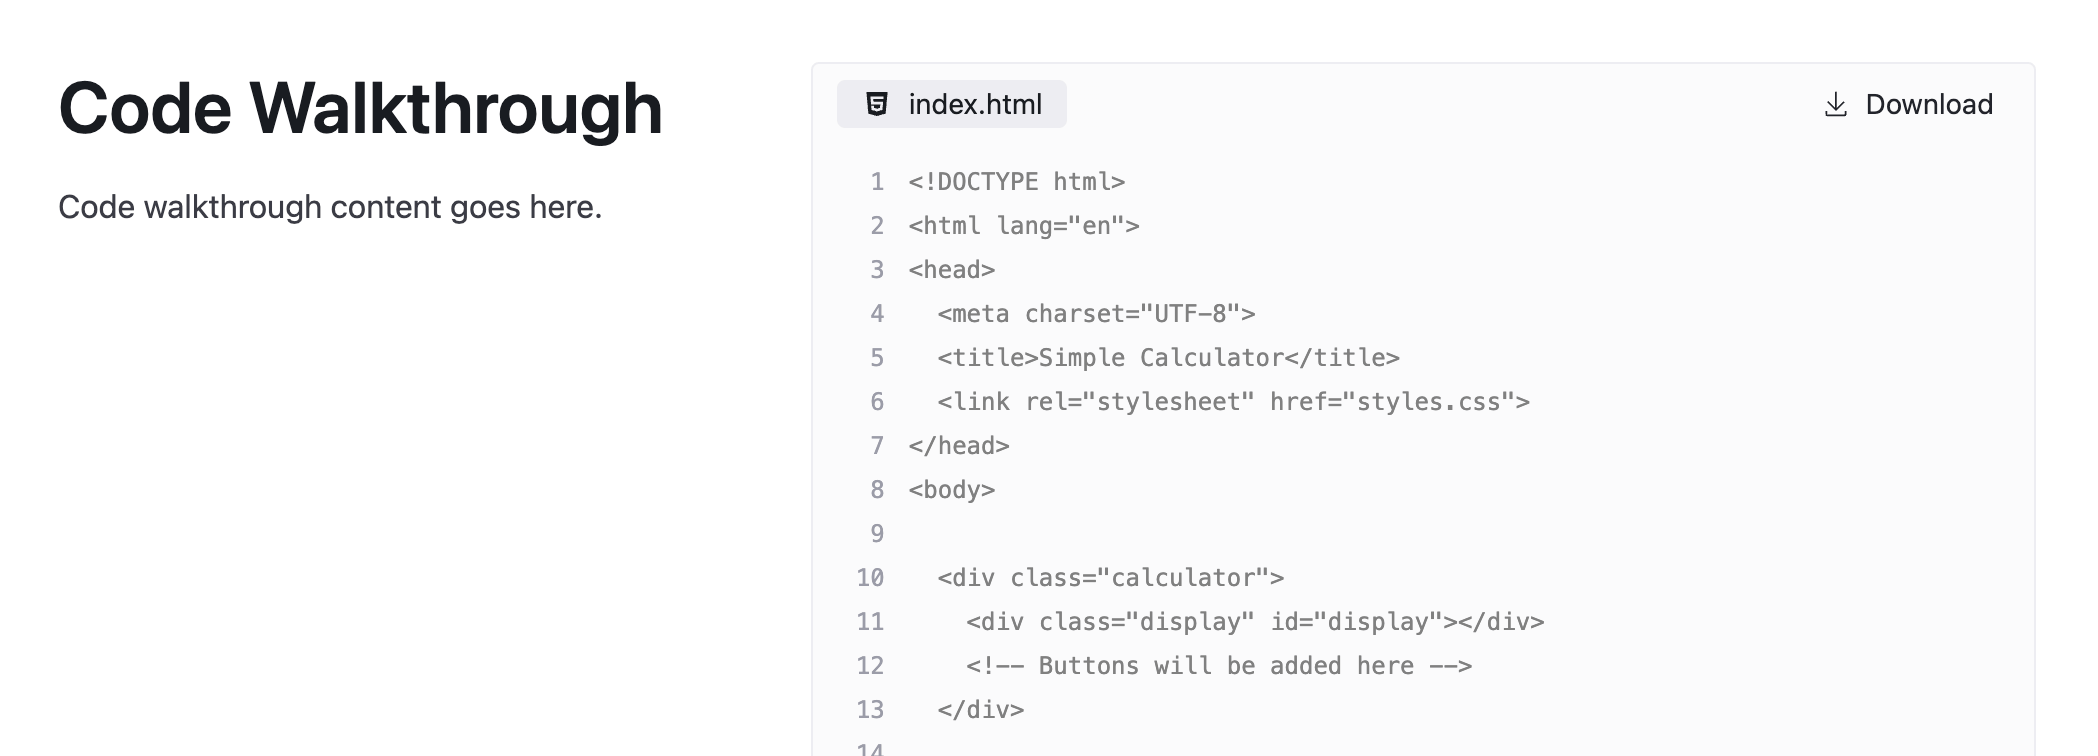
Restart the development preview and look at the page to verify the code walkthrough rendered successfully. You should see a side-by-side panel render on the page showing the code example.
Complete any remaining configuration of the code-walkthrough tag, which may include the following tasks:
- Add more code example
files. - Organize content using
filters. - Include "download-only" files using
downloadAssociatedFiles.
The following example includes multiple example files, a filter, and download-only files:
{% code-walkthrough
  filesets=[
    {
      "files": ["./code-samples/go/server.go"],
      "downloadAssociatedFiles": ["./code-samples/go/*"],
      "when": { "backend": "Go" }
    },
    {
      "files": ["./code-samples/node/server.js"],
      "downloadAssociatedFiles": ["./code-samples/node/*"],
      "when": { "backend": "Node" }
    },
    {
      "files": ["./code-samples/python/server.py"],
      "downloadAssociatedFiles": ["./code-samples/python/*"],
      "when": { "backend": "Python" }
    }
  ],
  filters={
    "backend": {
      "label": "Backend",
      "items": [
        { "value": "Go" },
        { "value": "Node" },
        { "value": "Python" },
      ],
    }
  }
%}
  # Code Walkthrough

  Code walkthrough content goes here.
{% /code-walkthrough %}
Verify the following behaviors in your walkthrough before writing content:
- Filenames for a code example show at top of right panel.
- Clicking a filename changes the code in right panel.
- (Optional)
filesetsandfiltersconfigured to add any user-facing filters.
Define a section in the left panel by wrapping content with the step tag. Each step must have a unique id.
As the user scrolls, the "active step" changes and applies custom styling to that section of content.
The following example shows how steps are used in a walkthrough:
{% code-walkthrough ... %}
  <!-- ...other steps and content -->
  ## Define document head

  {% step id="head-tag" heading="Add head tag" %}
    Add a `<head>` tag to the `index.html` file.
  {% /step %}

  ## Add elements to head

  {% step id="page-title" heading="Set page title" %}
    Use the `<title>` tag to set the title of your page.
  {% /step %}

  {% step id="link-css" heading="Link CSS styles" %}
    Use the `<link>` tag to import custom styling.
  {% /step %}
  <!-- ...other steps and content -->
{% /code-walkthrough %}Use chunks annotation to control which lines are highlighted in the right panel when a step becomes active in a code walkthrough.
Define a section in the right panel by wrapping part of the code example with redocly-chunk annotations. Use the steps attribute to connect that section of code with specific steps.
As the user scrolls, the chunk is highlighted when the corresponding step(s) become active.
The following example shows chunk annotations used in a walkthrough's code example:
<!DOCTYPE html>
<html lang="en">
<!-- @chunk {"steps": ["head-tag"]} -->
<head>
    <meta charset="UTF-8">
    <!-- @chunk {"steps": ["page-title"]} -->
    <title>Walkthrough example</title>
    <!-- @chunk-end -->
     <!-- @chunk {"steps": ["link-css"]} -->
    <link rel="stylesheet" href="static/styles.css">
    <!-- @chunk-end -->
</head>
<!-- @chunk-end -->
<!-- ...other content... -->
</html>The code walkthrough feature is a tool for managing user focus, where the author is responsible for the experience of the end-user.
Use the following authoring flow when creating walkthrough content:
- Write the step (left panel).
- Define the chunk (right panel).
- In preview, verify highlight behavior when step is active.
- Start again from step 1.
This approach helps reduce complexity for authors and leads to higher quality walkthroughs.
- Use code walkthrough tags to manage the content in the left panel.
- Control the highlighting behavior of code examples with chunk annotations.