Azure Repos
Redocly is integrated with Azure Repos (which is part of Azure DevOps). You can trigger workflows in Redocly automatically when you commit or open a pull request in Azure Repos.
You will need the Professional or Enterprise plan to connect to Azure Repos connection.
Connect Azure Repos to Redocly
Redocly integrates by using a personal access token to authenticate to Azure Repos.
We recommend using a service user account. A service user is a user created in Azure Repos intended for use by a machine. You would log in to the service user account to generate a personal access token for use by a 3rd party service (like Redocly). We recommend naming your service user "Redocly" or similar.
Log into your Azure Repos account, and under User Settings, create a personal access token. For more information, read the Azure docs to learn how to create a personal access token. Azure DevOps has a current and preview features environment which have different locations for finding where to generate your personal access token.
Set permissions for the personal access token.
- Select
custom definedscopes.You must define the scopes correctly.
- Set
read & writecode access. - Set Web/Service hooks permissions.

If you set an expiration on the personal access token, set yourself a reminder to generate a new token.
In Redocly, navigate to Settings > Source control providers page.
Scroll down to the Azure section of the page, and complete the details.
- Enter the Organization name as it appears in your Azure account.
- Enter your personal access token you created in Azure Repos.
- Select Save Azure Settings to save your changes.

You've now connected Azure Repos to Redocly.
Update access token
To update your token:
On the Source control provider page, under Azure, select Change.
Add in your new token, and select Update Azure Settings.

Disconnect Azure
To disconnect the integration between Azure Repos and Redocly, on the Source control provider page, under Azure, select Disconnect Azure.
Create a project
Once you have set up Azure integration, you can create a new project and select Azure as a source for your registry.
- Using Workflows, from the API registry screen, select Add API.
- Enter a name and version for your API, and select Next to continue.
- On the Choose source page, select Azure as your source.
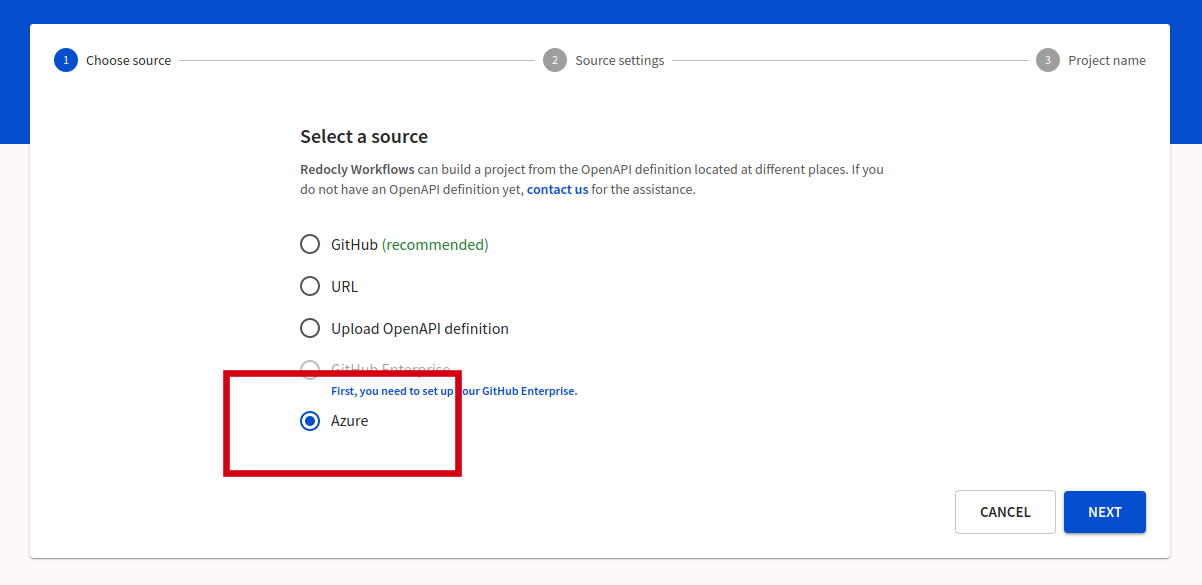
- Select Next to continue to the next screen, where you select your Repository.
- On the Source settings page, select the repository, and your production branch. We recommend selecting the *Build PR as previews, which will trigger workflows to build a preview of your docs.
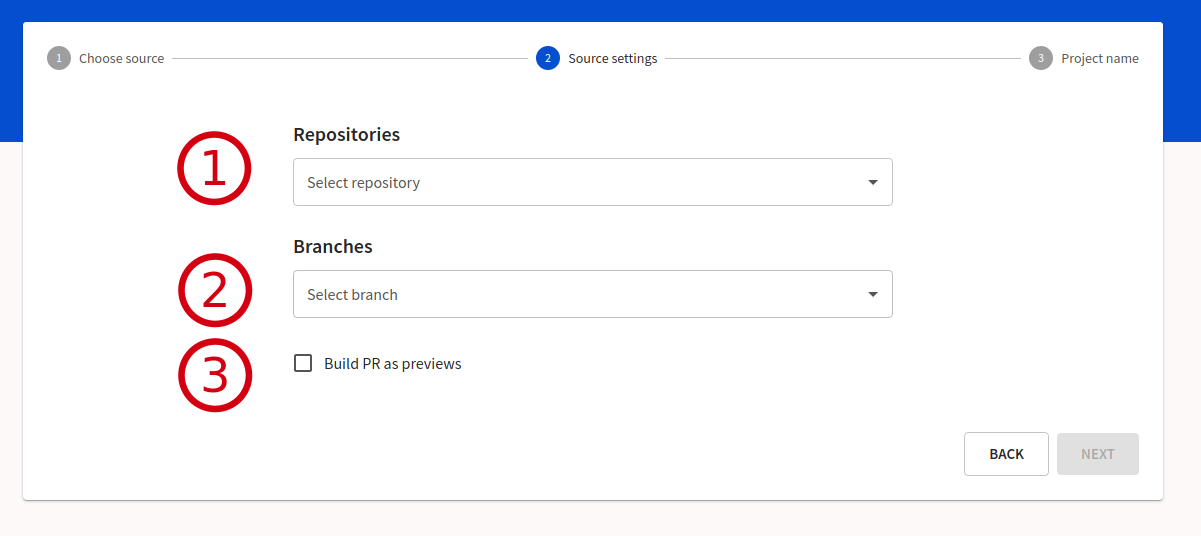
- Select Next to save your changes.
Test Azure Repos with your project
This section provides a follow-along demo of using the Azure Repos connection.
Prerequisites
- An Azure Repo with a valid OpenAPI definition or Developer portal.
- A project, configured with the *Build PR as previews, as described above.
Trigger a preview
Using your existing Azure tools, clone your repo.
Create a branch, and make a minor change.
Commit and push to the Azure Repos origin.
Open a pull request.
Using Redocly, navigate to the Project overview or the Project builds screen. A preview build should be triggered.

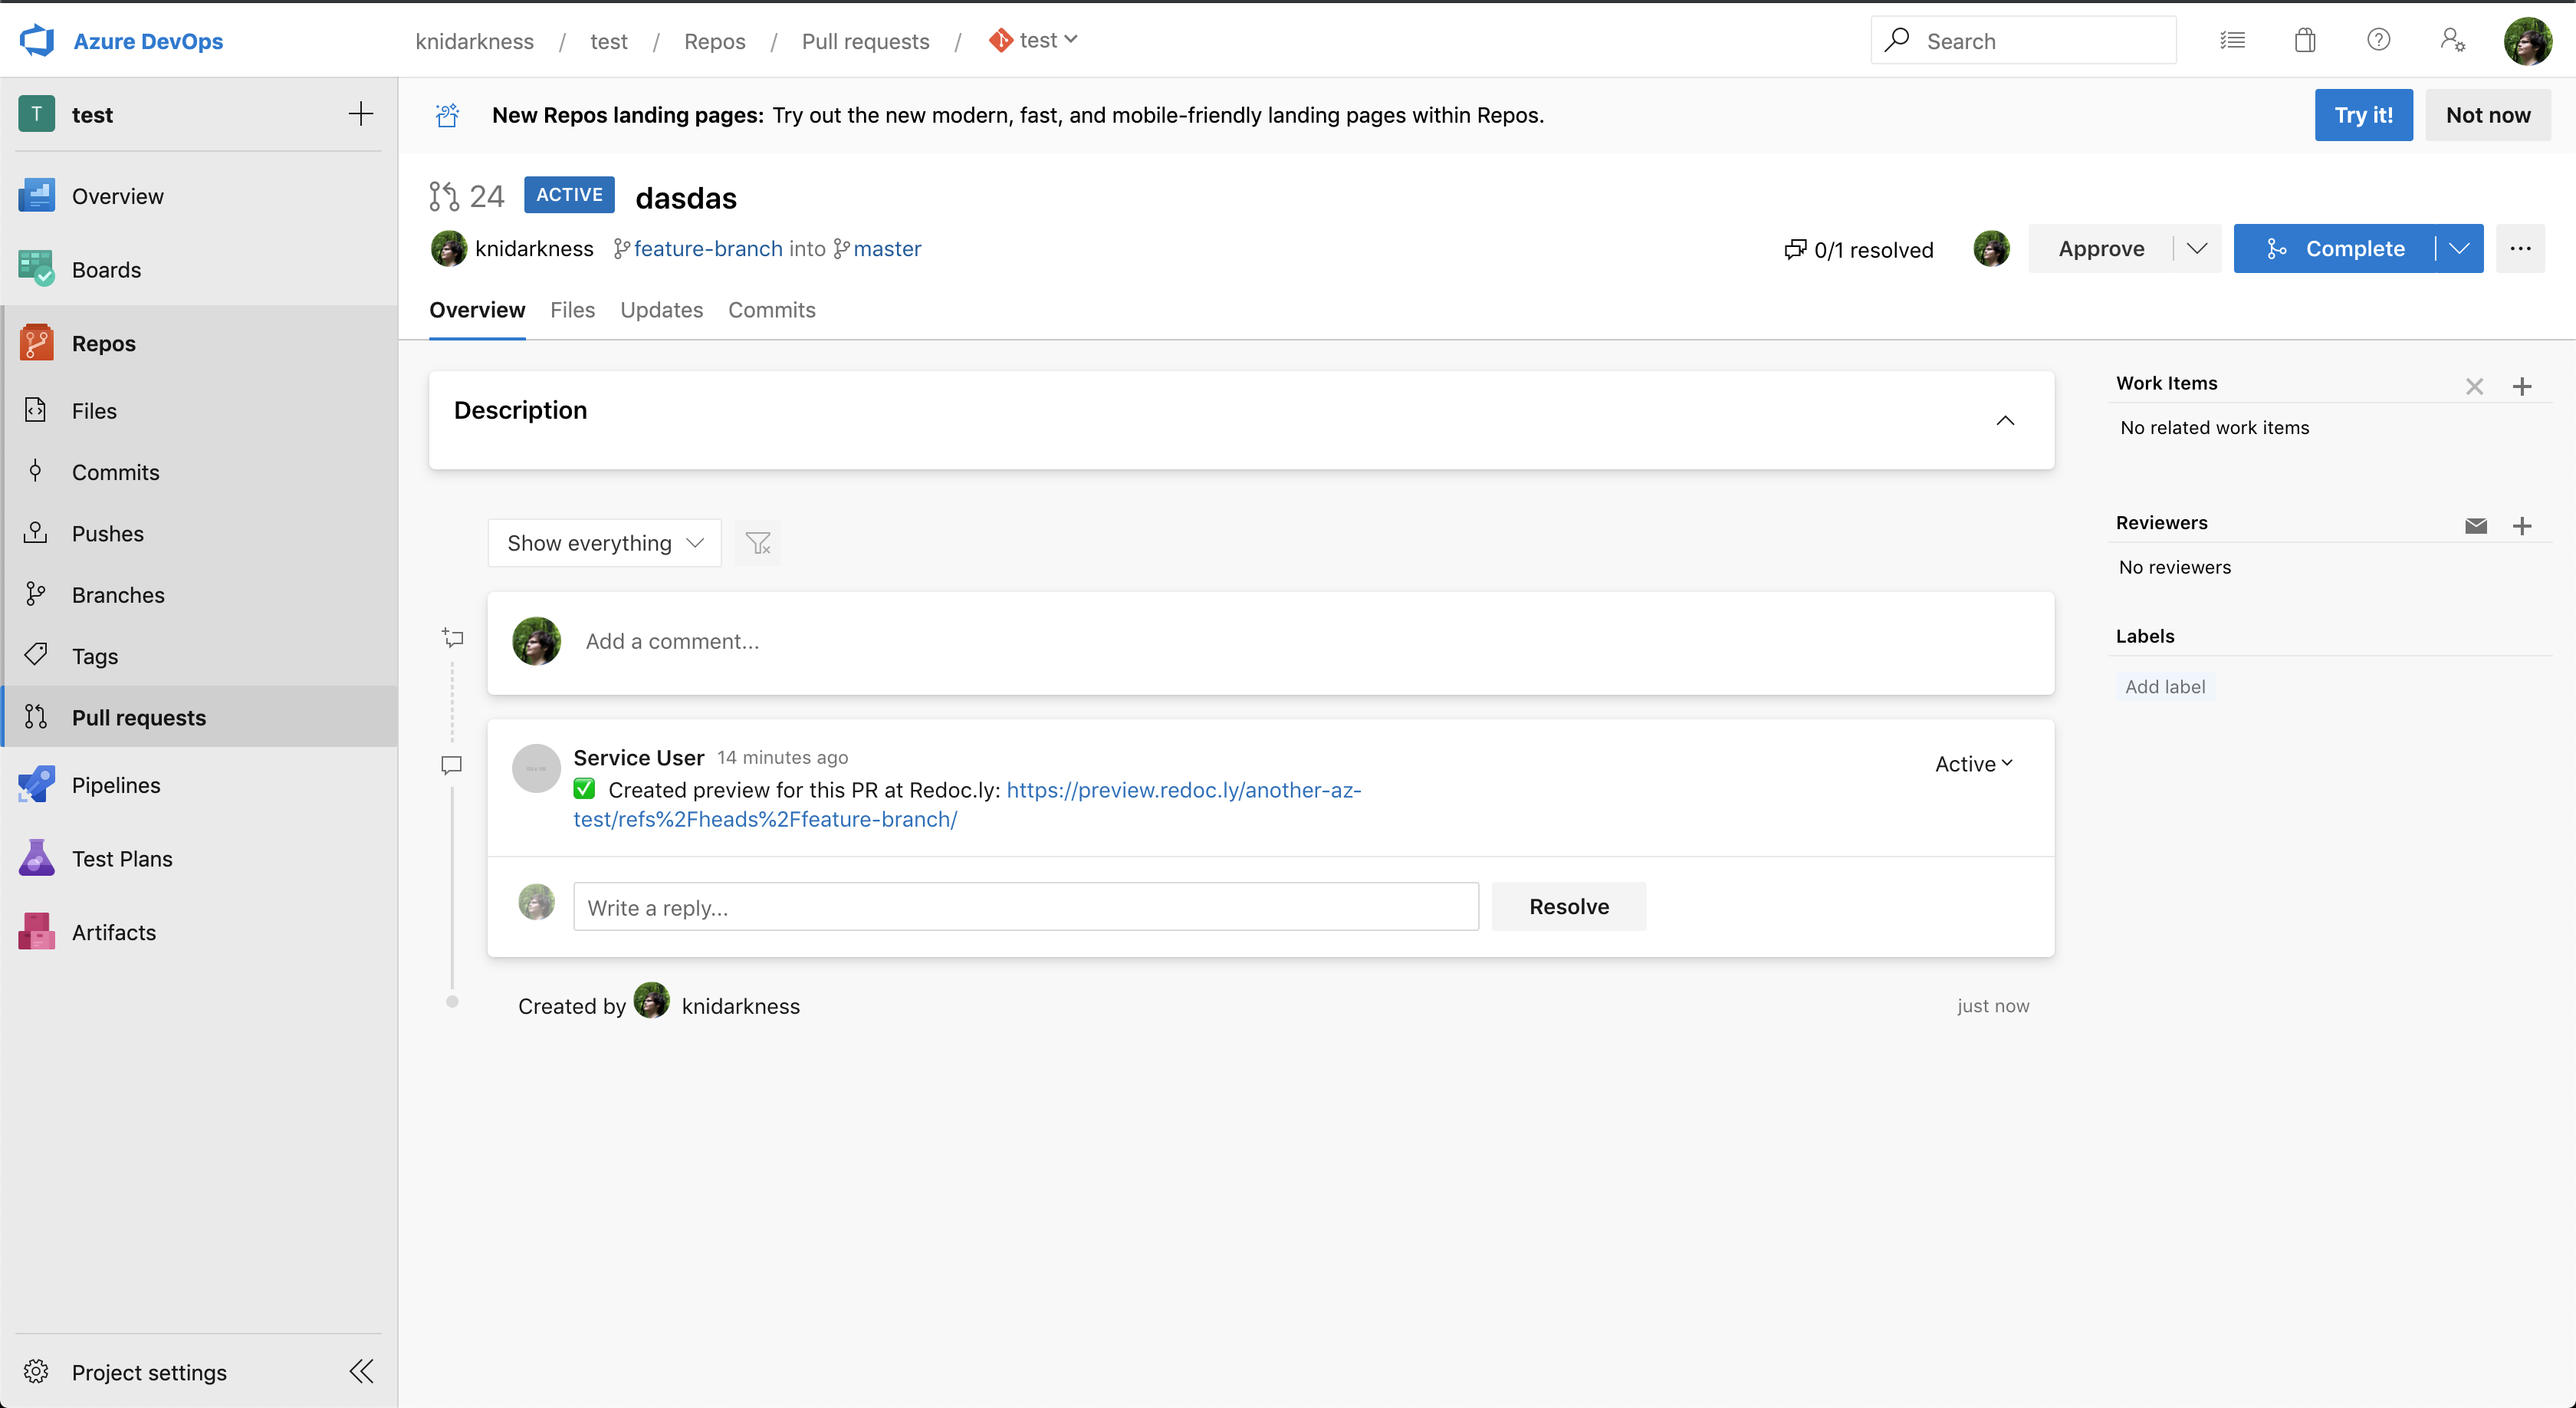
Upon completion you should see a comment on your pull request with a link to the preview of your docs.
Service user accounts
In the example, we used a service user account. A service user is a user created in Azure Repos whose primary purpose is to generate a personal access token for use by a 3rd party service (like Redocly). It is considered a good practice to create a service user.
When the build completes and is successful, Redocly posts a comment from the service user with the link to the preview.
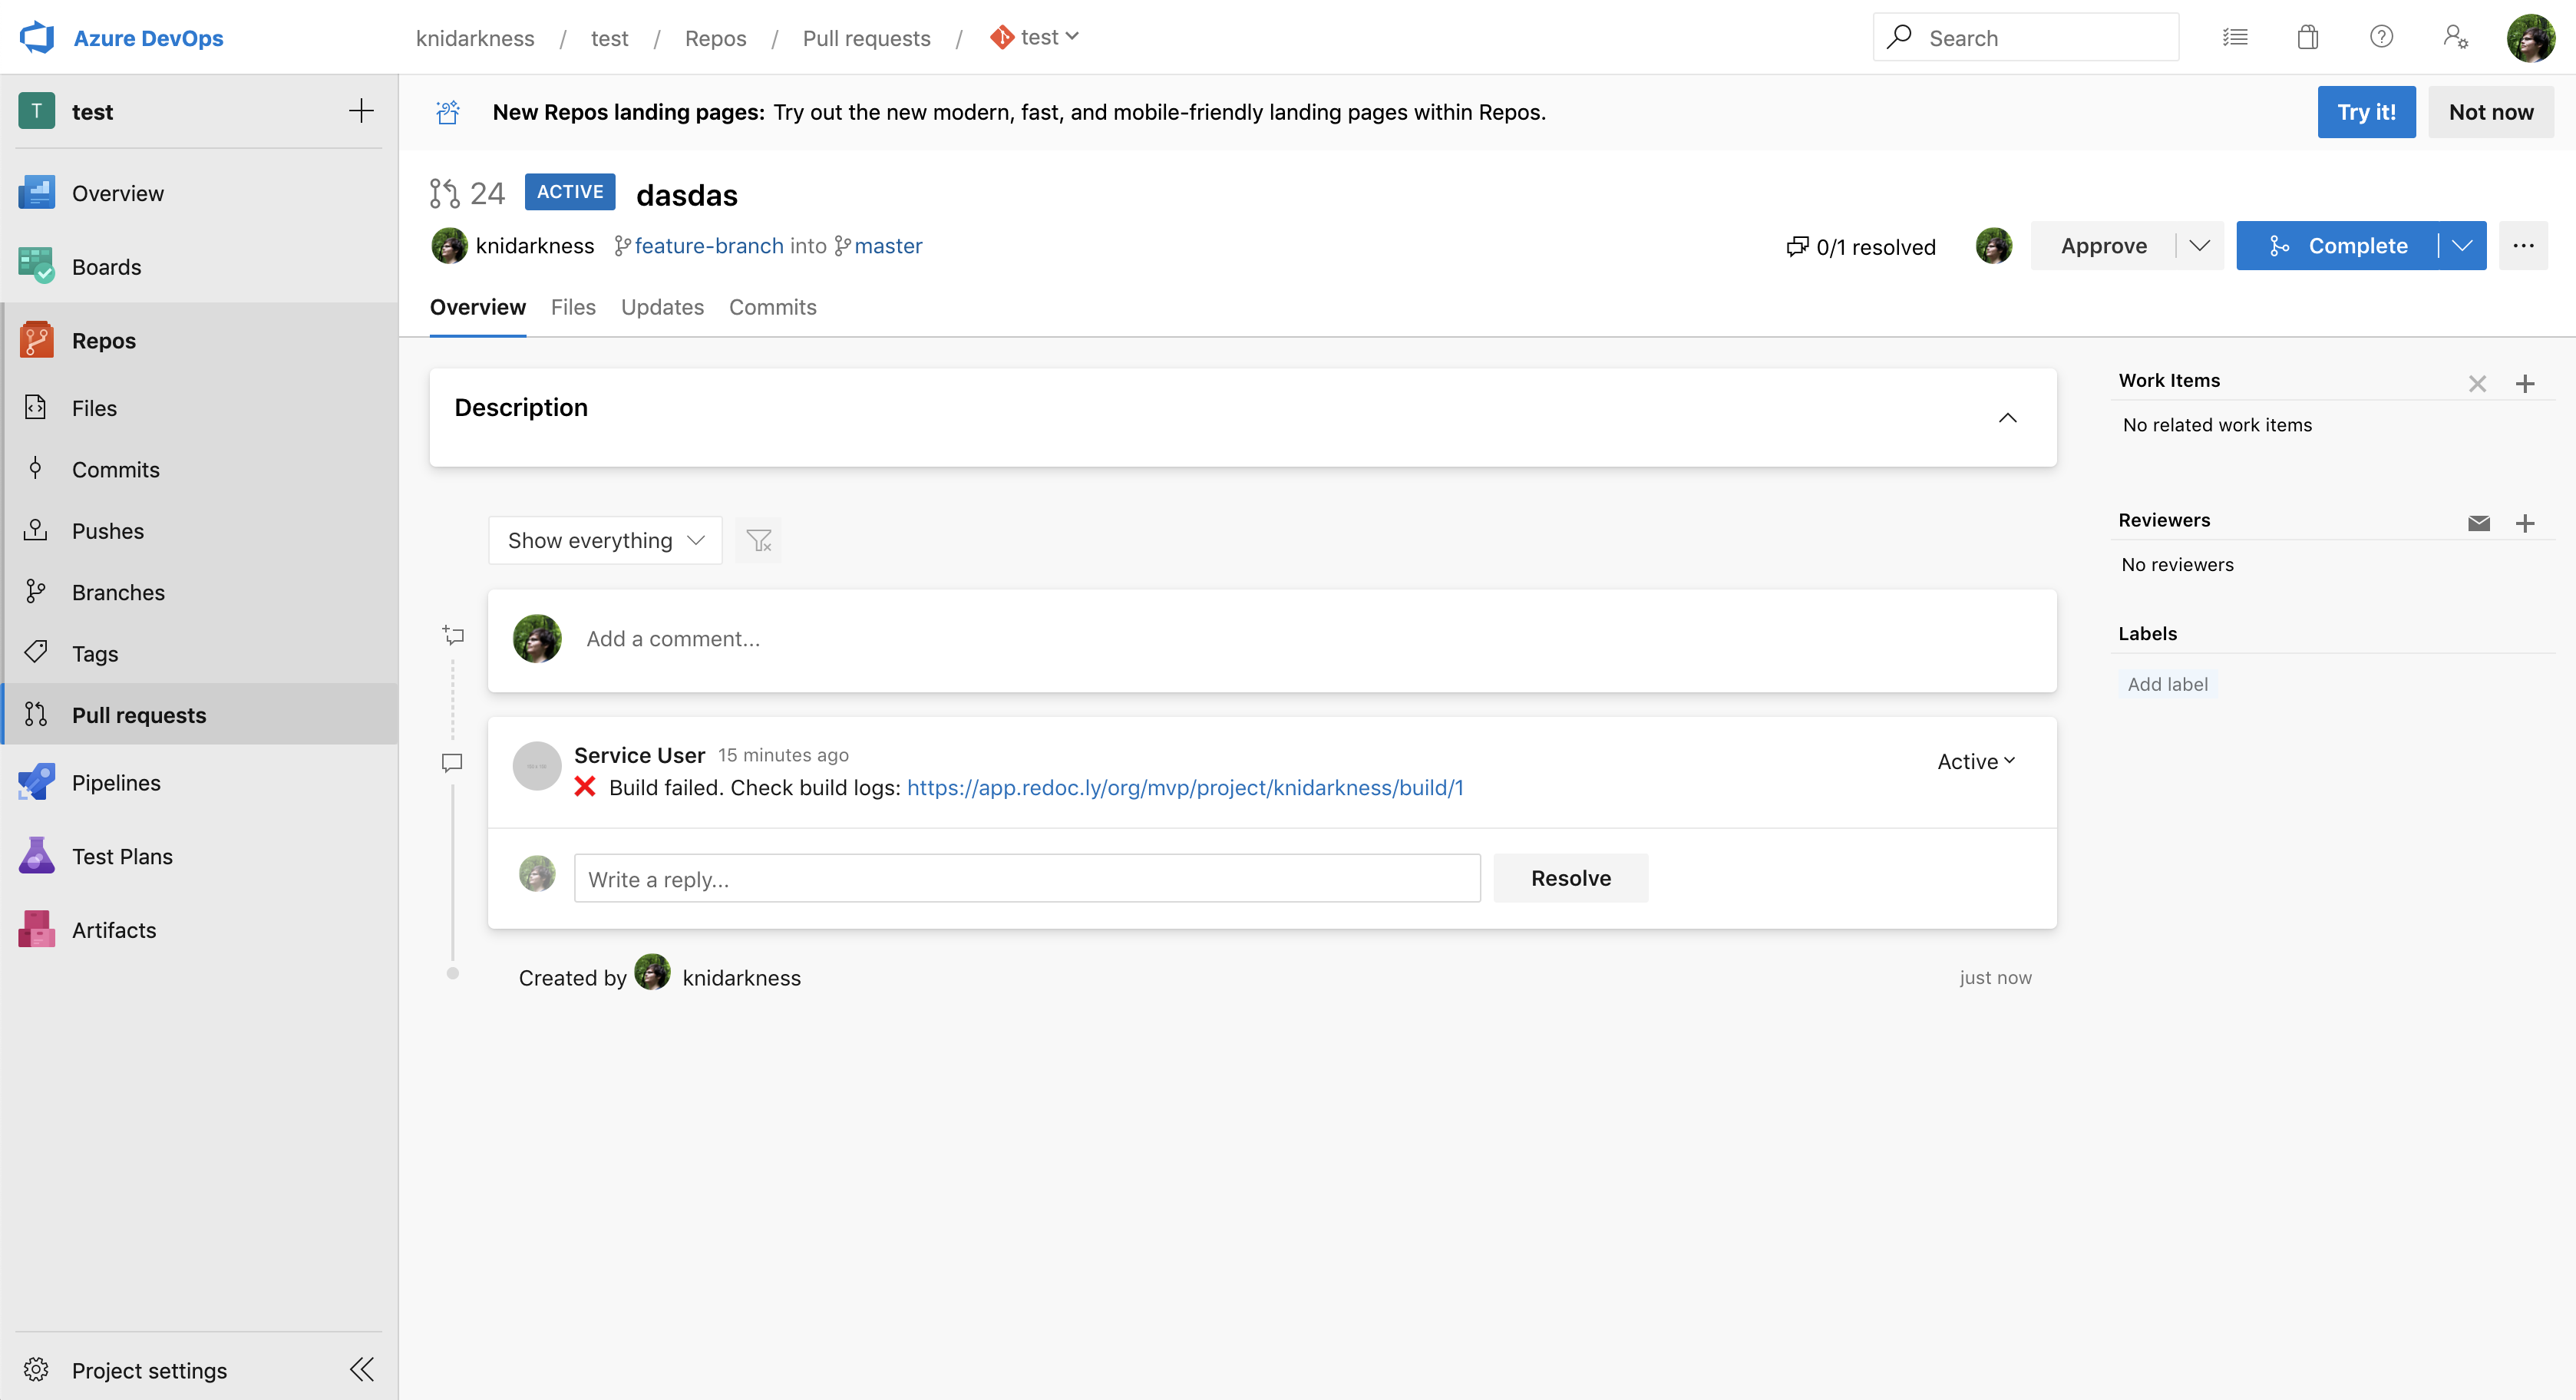
If the build fails, Redocly posts a comment from the service user with a link the build logs where you can find more details for the cause of the failure (such as an invalid API definition).