Labels allow you to categorize and tag your API definitions and versions so that you can discover and use them efficiently.
With labels, you can dynamically filter your API registry to only display relevant APIs.
Labels are a mechanism to categorize and organize your API versions. Label names will not affect access control for the API versions.
For example, adding an Internal label and assigning it to an API version does not imply the API version can be accessed by internal staff only. You will have to specifically set access control for these API versions.
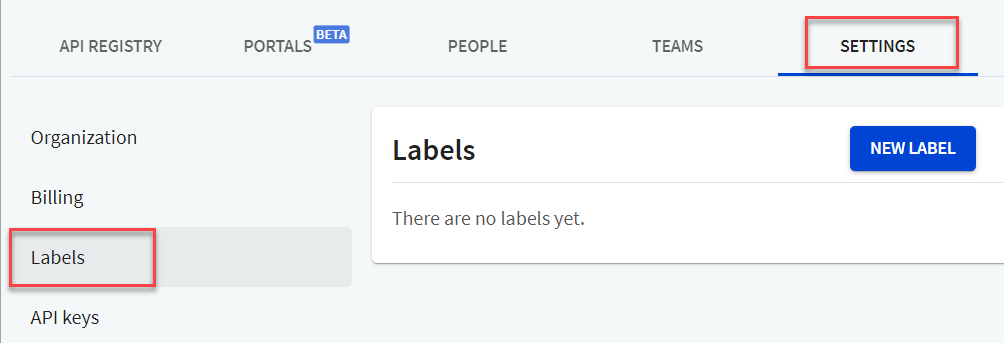
Use the Settings > Labels page to add new labels.
- Log in to your organization in Workflows and select Settings.
- From the left, select Labels. The Labels page displays.

- Select New Label.
- For a new label, complete the following:
- Label name: Type in a name for your label. This is the name that will be displayed in your API registry once you assign this label to the API definition or version.
- Description (optional): Type in a description for your label. Descriptions are for additional details only.
- Color: Type in a hex code to assign a specific color for this label. To automatically generate a random color, select the
autoicon next to the hex code field.
As you start creating your label, an automatic preview is generated right above the label. For example, we created an Internal label, put in a description and assigned a color to this label.

- Select Create Label to save your changes. A new label is created and displayed in the labels list.
To edit labels, including label name, description or color, navigate to the Settings > Labels page and select the Edit (pencil) icon. Make your changes and select Save changes.
The label details are updated for all API versions where this label has been assigned.
To delete labels, navigate to the Settings > Labels page and select the Delete icon. The label is deleted and unassigned automatically from all API versions where it may have been previously assigned.
You can assign labels to API versions from the API registry.
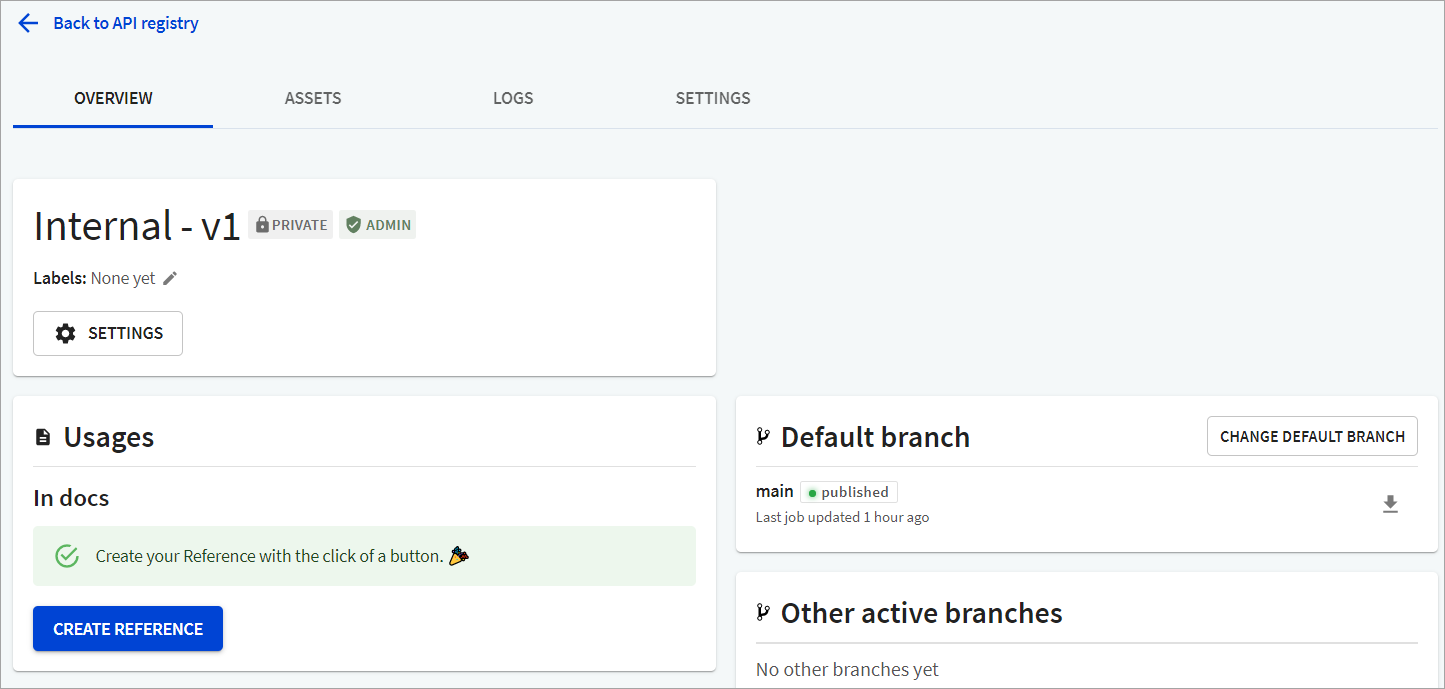
Log in to your organization in Workflows and select API registry.
On the API registry page, select the API version you want to assign the label. The API version details display.

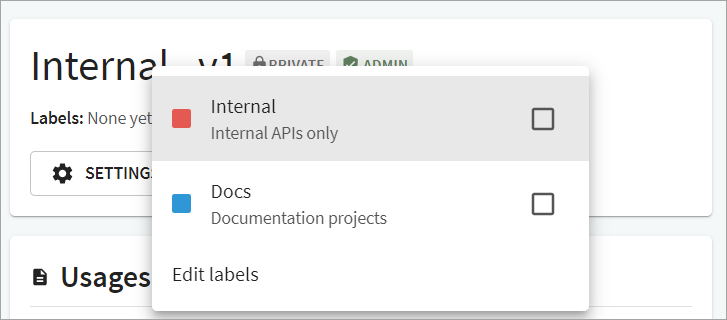
On the API version details page, under the version name, select the Edit icon. The Labels dialog displays.

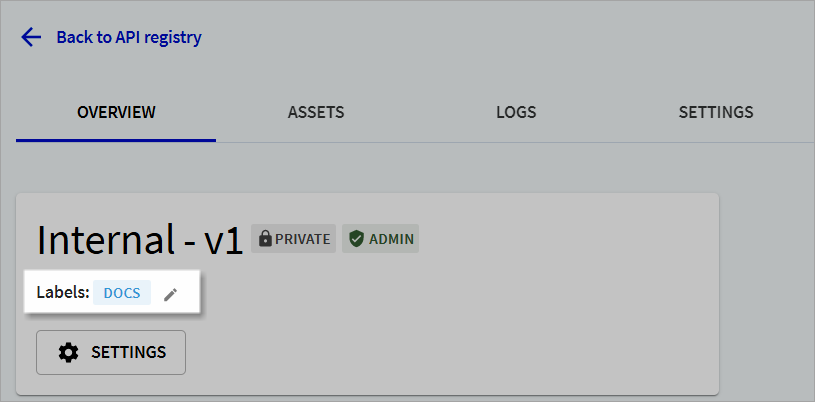
Tick to select and assign labels to this API version. For example, the Docs label. The selected label is automatically assigned to the API version.

To unassign the label, navigate to the API version details page, and deselect the label.
You can also assign labels to your APIs in the registry from the Redocly configuration file.
After creating one or more labels in Workflows, add them to your APIs using the labels property.
organization: test_docs
apis:
  main@v1:
    root: ./openapi/openapi.yaml
    labels:
      - production
      - active
  external@v2:
    root: ./openapi/external.yaml
    labels:
      - external
Make sure to set your organization ID in the configuration file using the organization property.
After saving the changes to the configuration file, you can use it with Redocly CLI push, or with your new and existing APIs in the registry to manage their labels.
If you try to apply labels that don't exist in your organization, Redocly apps will display a warning in the output. Any existing label(s) you used in the file will be applied.